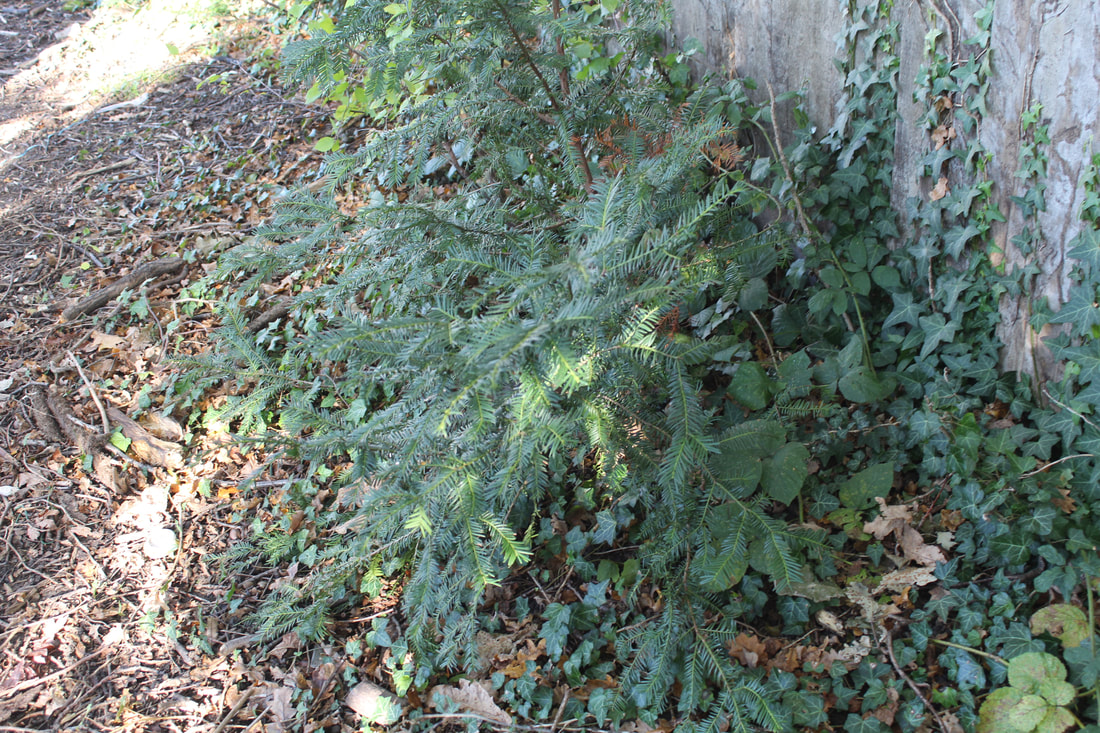
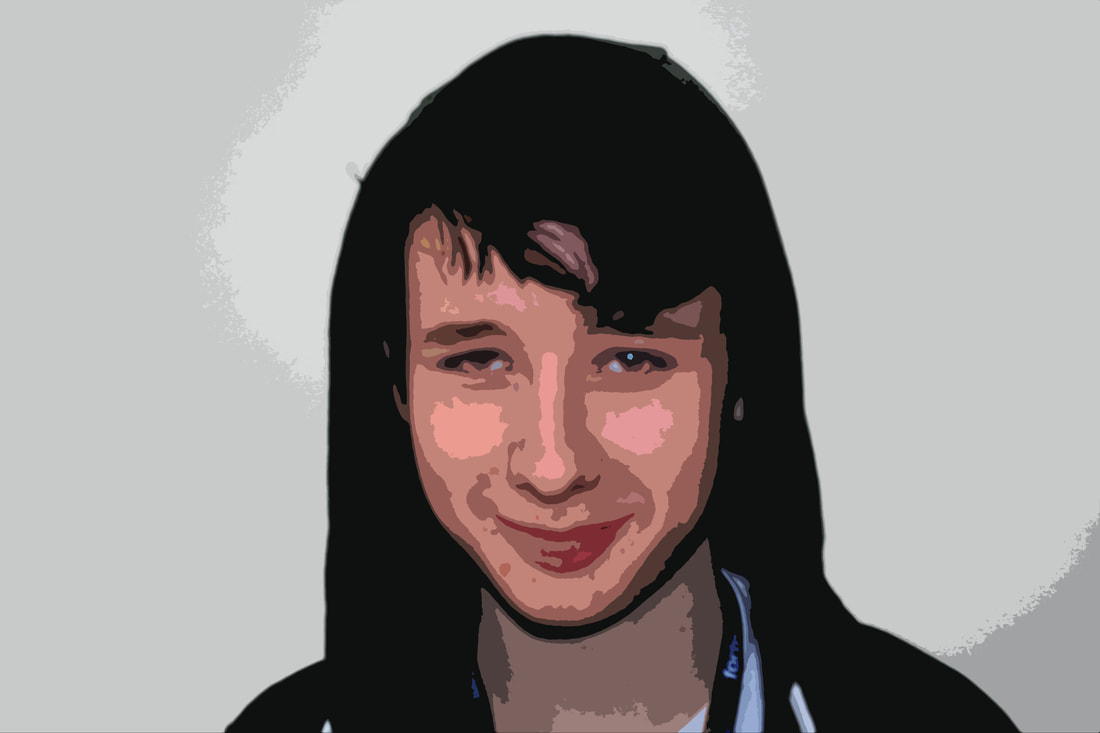
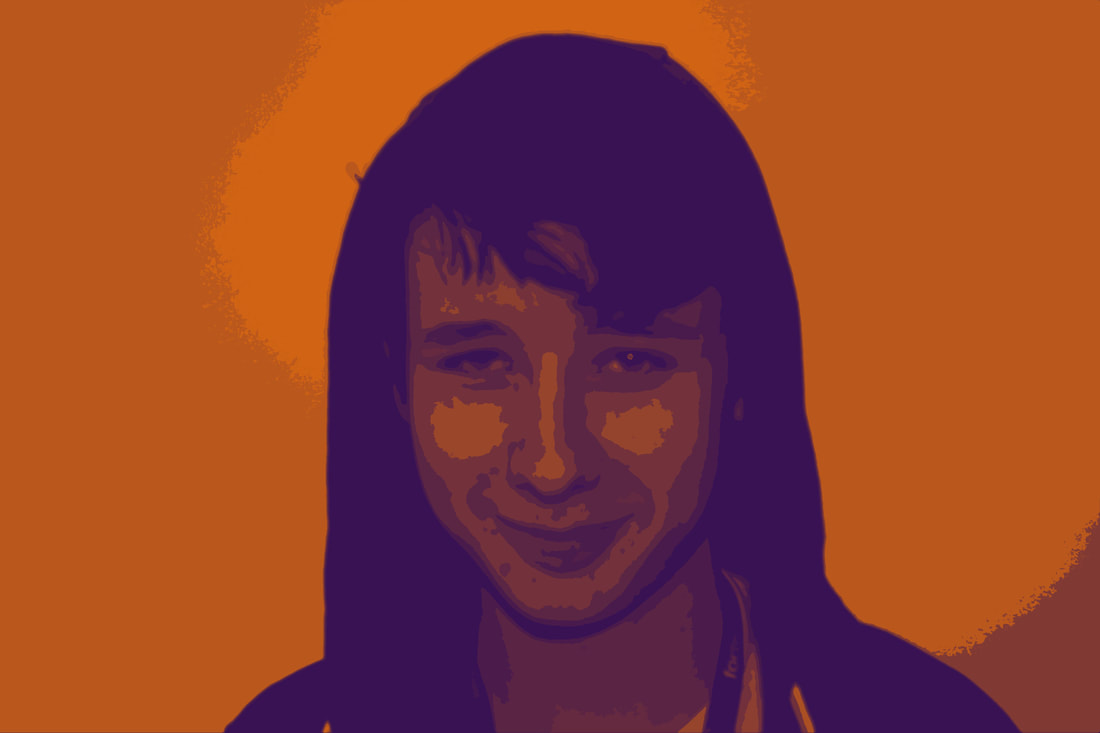
Holiday work
WWW: really creative ideas and layout and really enjoyed doing this homework
EBI: a more conventional structure to portray this piece
EBI: a more conventional structure to portray this piece
The history of photography
In the history of photography we looked at the different cameras and people who were involved in the history. All the way from the 900AD to the 1950s
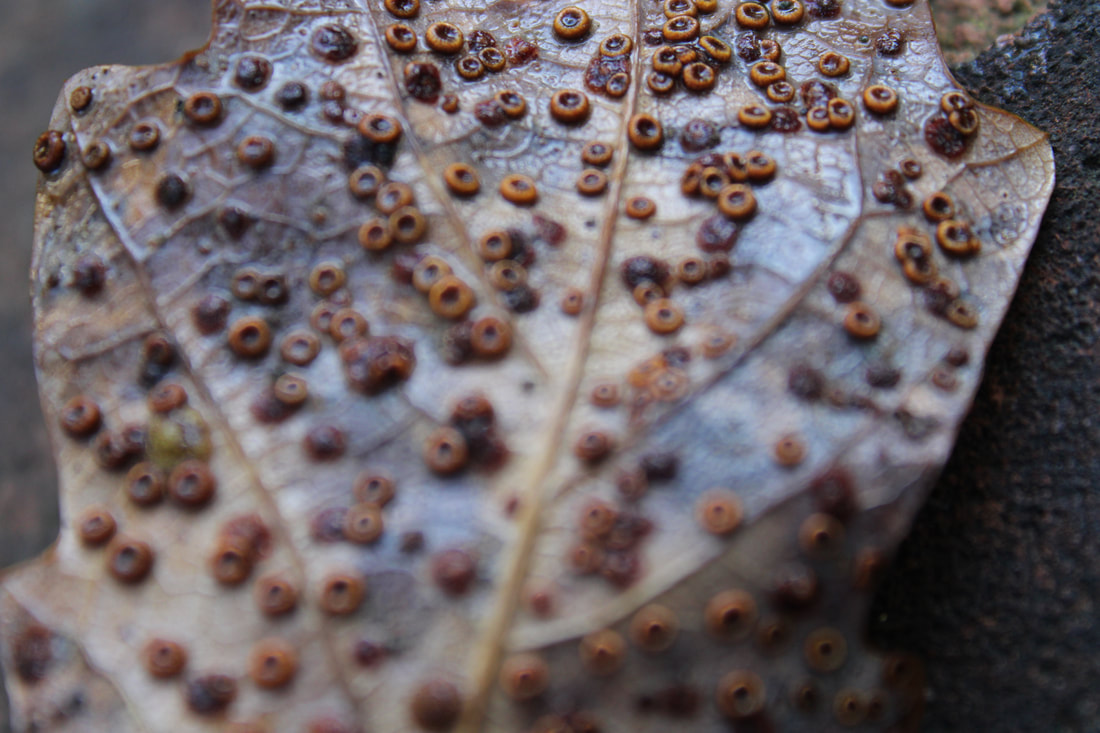
camera obscura
During this assignment we created a camera obscura : we attached a lens to the cardboard box and made the focal length the right distance, while also double checking for any light entering through any holes by the sides. After that, we made the camera stable by using a chair and drew our images that we had projected to the tracing paper. Finally, we flipped the paper to reveal our images!

|

|

|
WWW: I had made a good camera obscura with no light shining through, meaning a clearer image. It was was structured well and the lens was well attached also meaning a nice depth of field for the tracing
EBI: a clearer drawing when traced to give the viewer a better idea of the drawing
EBI: a clearer drawing when traced to give the viewer a better idea of the drawing
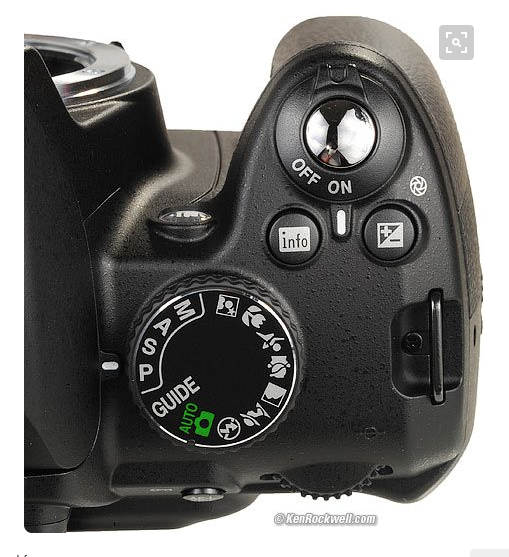
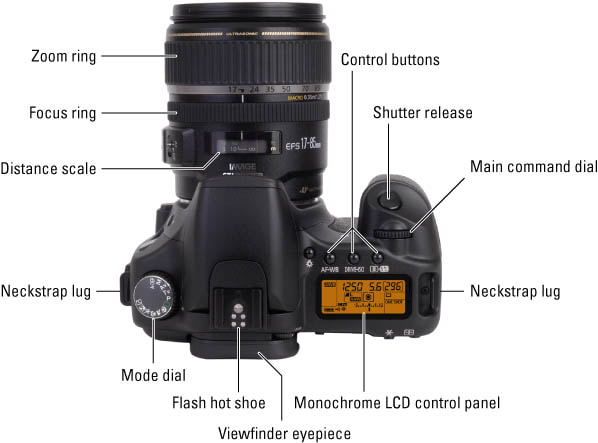
The DSLR camera
This is the modern day camera! We use this inn our photography lessons, here are the main features!
|
|
WWW: an easy understanding of the simple main features, which helped for this topic
EBI: going into more depth with settings in the camera
EBI: going into more depth with settings in the camera
Composition
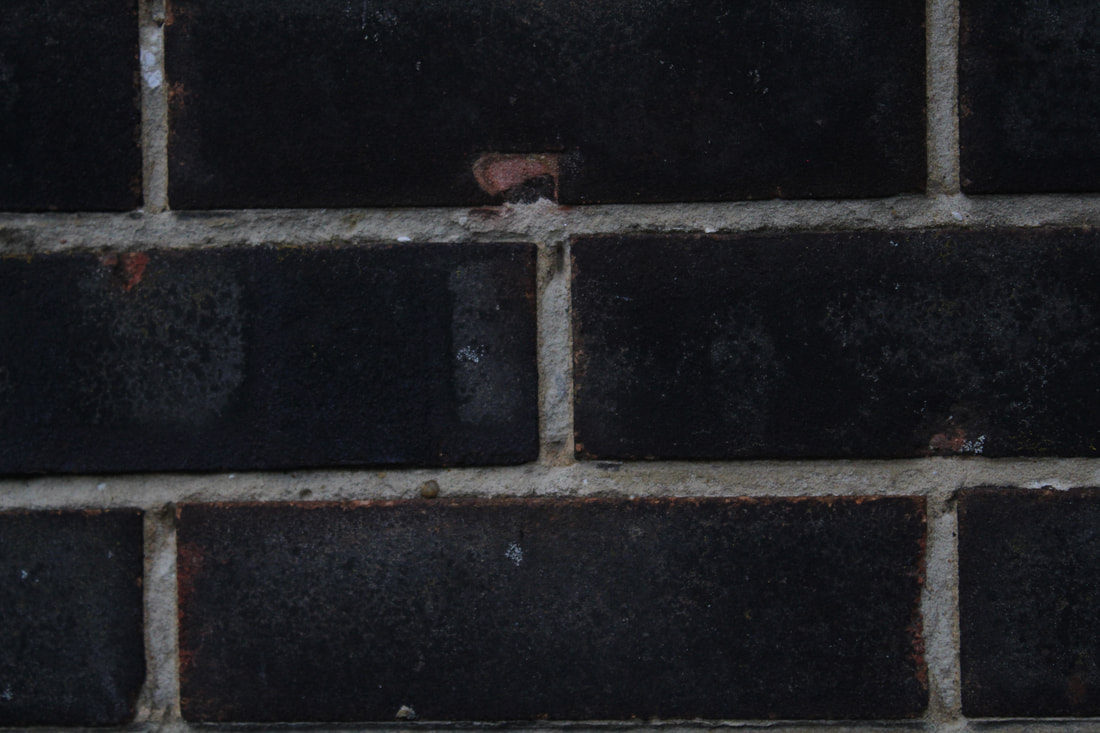
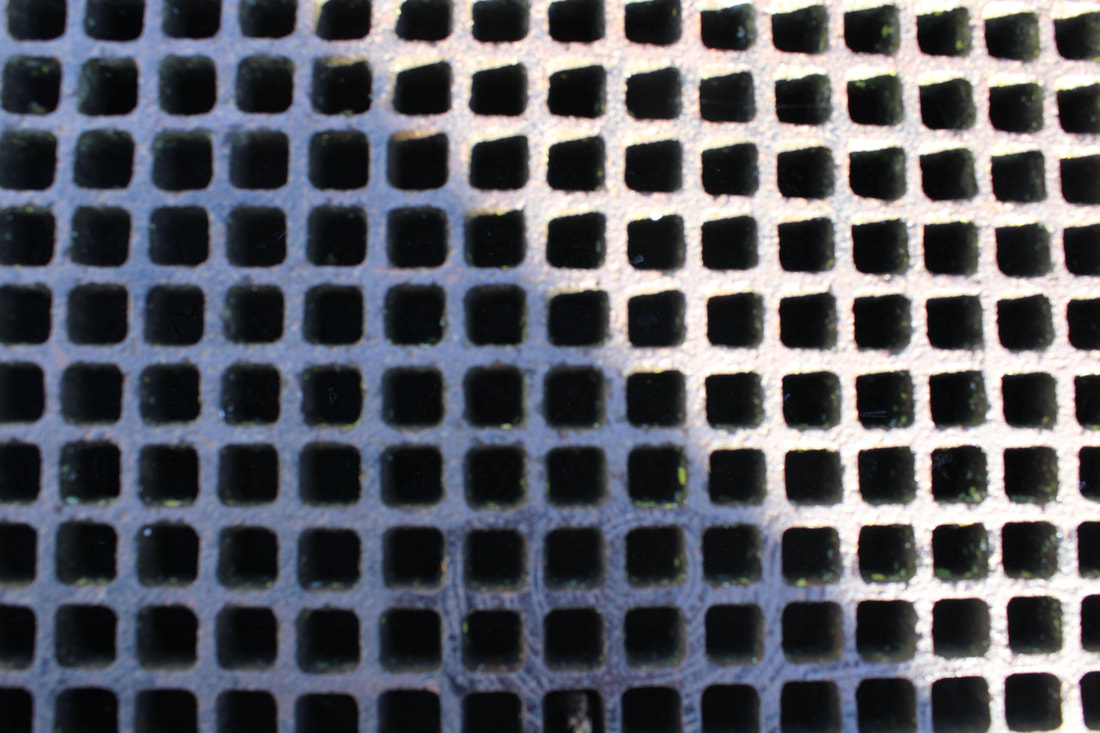
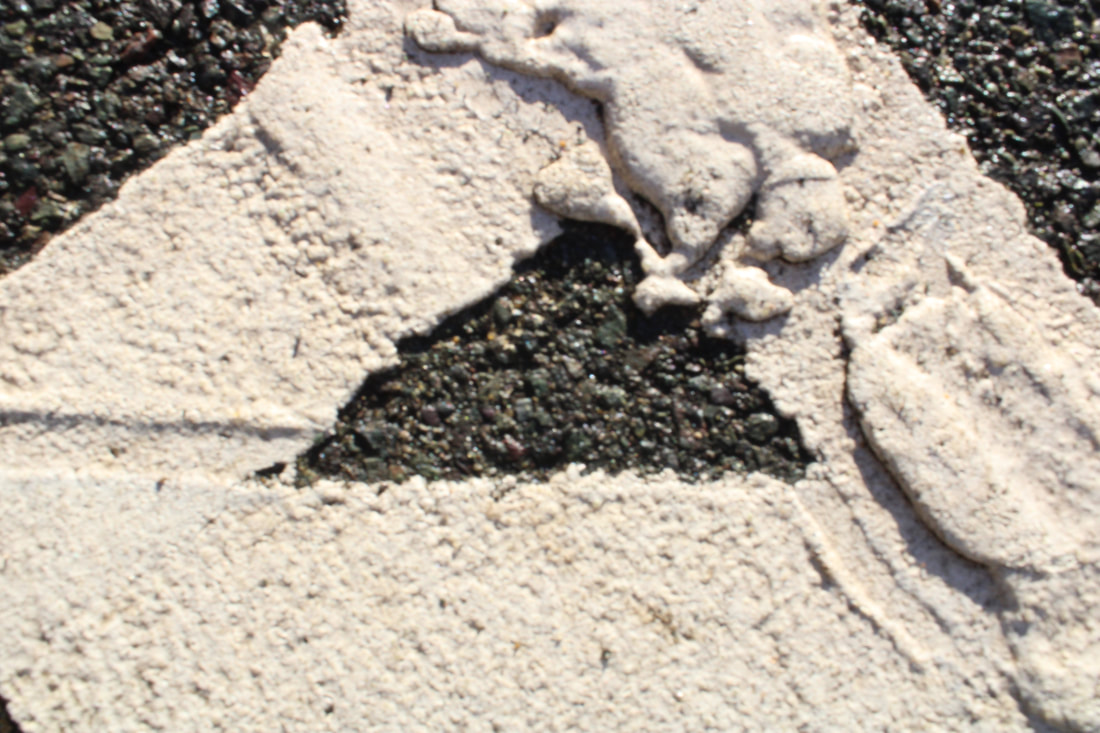
In this assignment, we set our cameras on automatic and matched all our photos with the corresponding images.

|

|

|
WWW - i managed to take all the photos in the time given and used some distinctive ideas
EBI - i put a bit more creativity into some of my ideas because i found them a bit generic when compared to others e.g. brick wall
EBI - i put a bit more creativity into some of my ideas because i found them a bit generic when compared to others e.g. brick wall
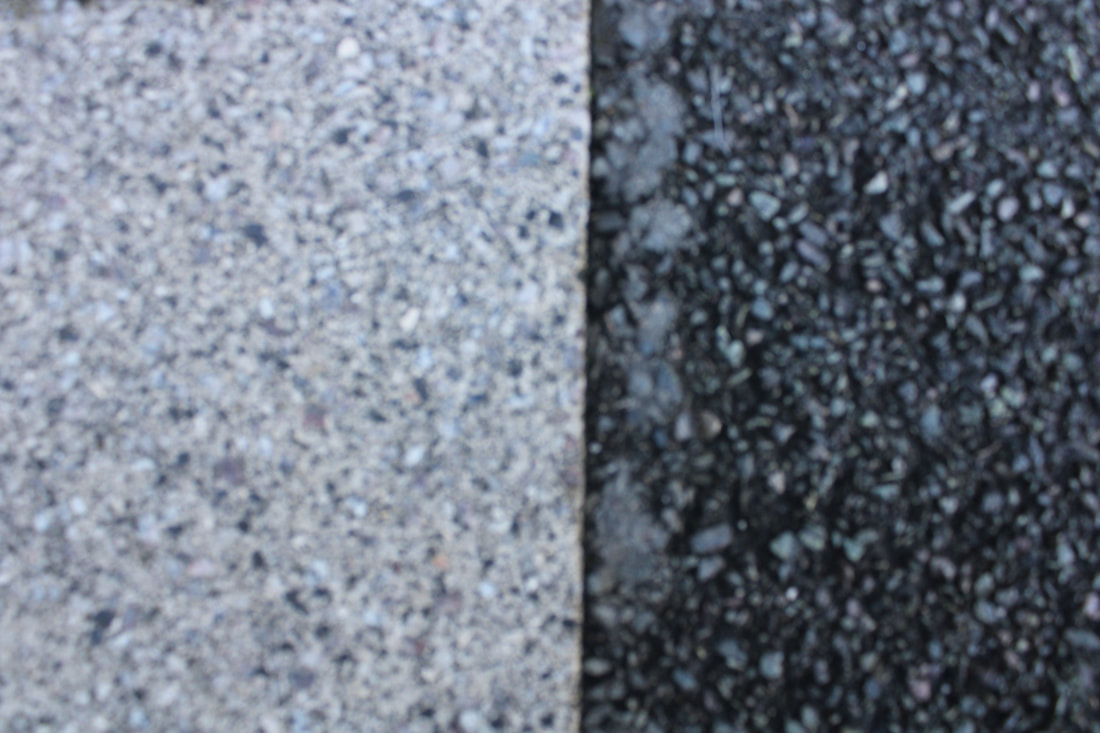
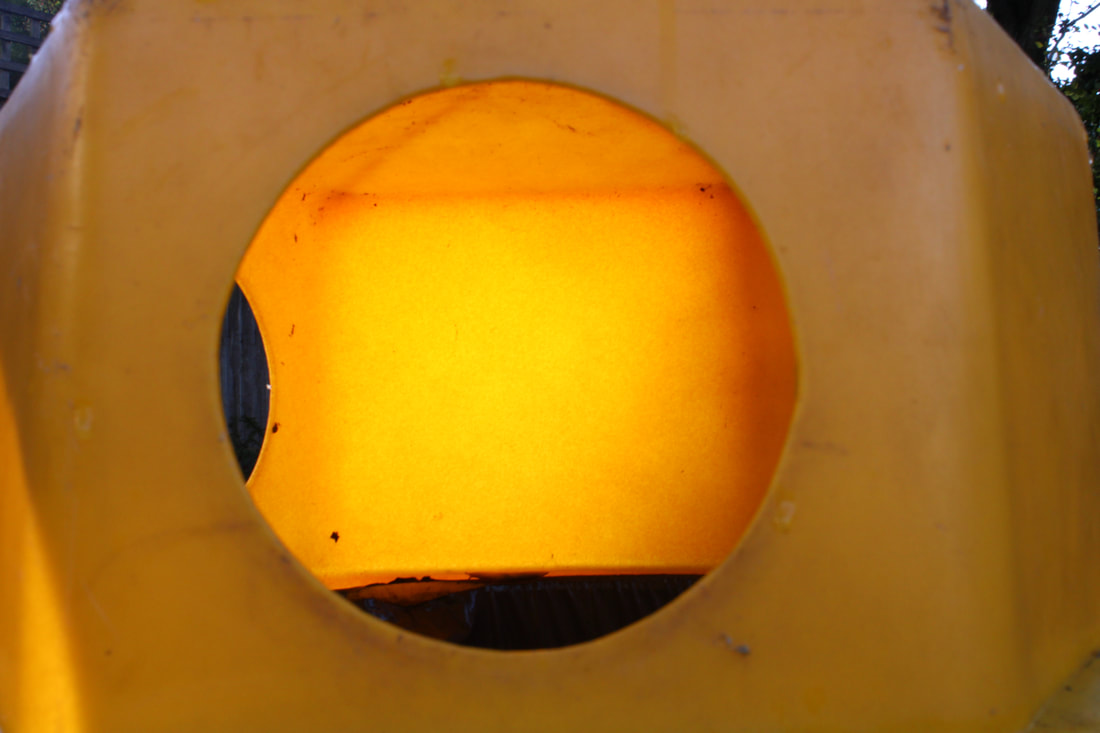
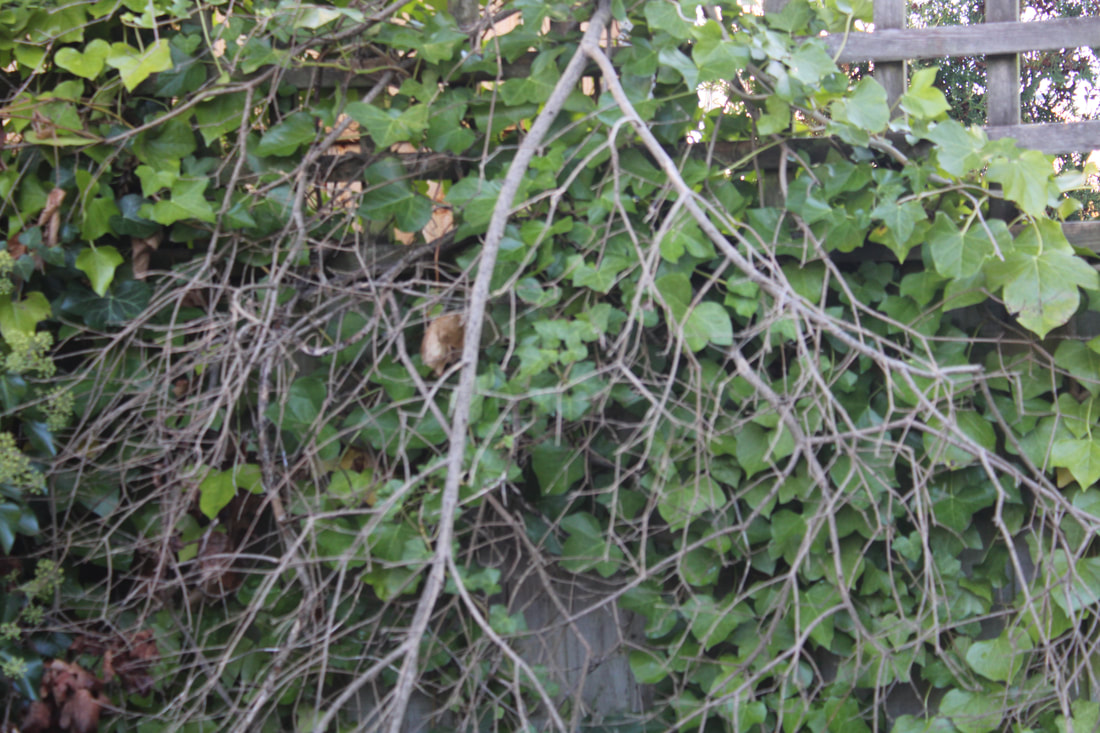
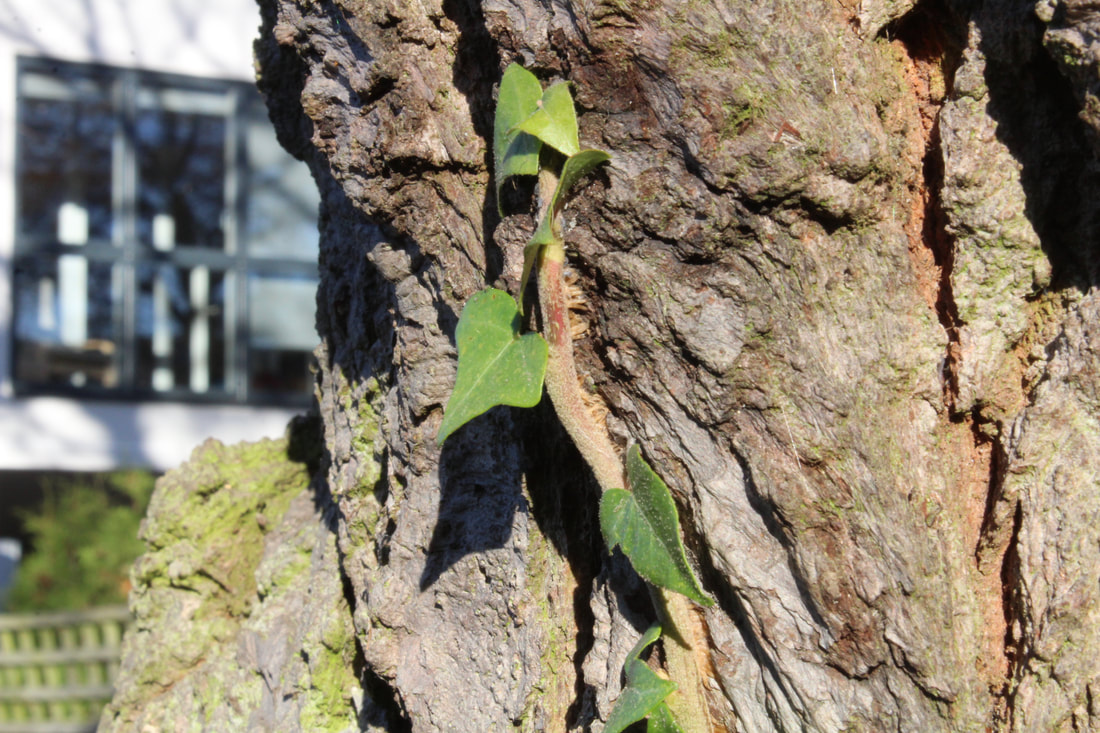
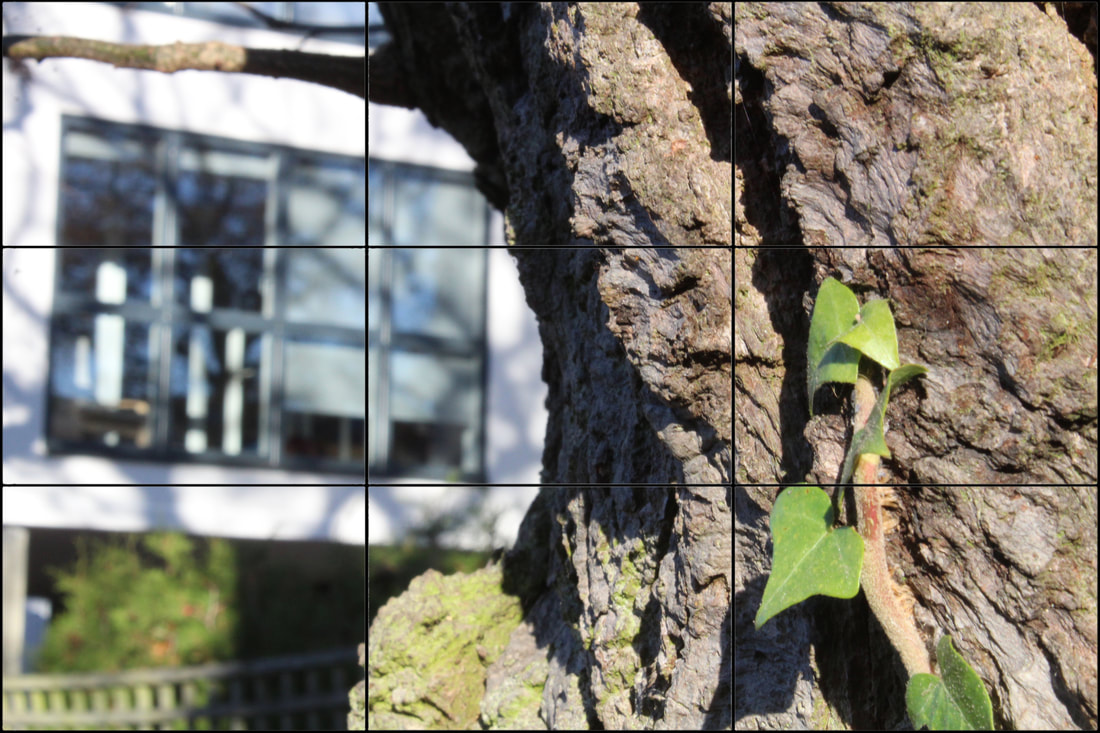
Rule of thirds
|
Imagine your picture area divided into thirds both horizontally and vertically. The intersections of these imaginary lines suggest four options for placing the centre of interest for good composition. The option you select depends upon the subject and how you would like that subject to be presented.
|

|
Without rule With rule
|
|
WWW: I achieved the rule of thirds with no issue and pasted the grid on the top layer in Photoshop with no problems
EBI: The vine could be more centered with the 3rd section of the grid so that the image is cleaner
EBI: The vine could be more centered with the 3rd section of the grid so that the image is cleaner
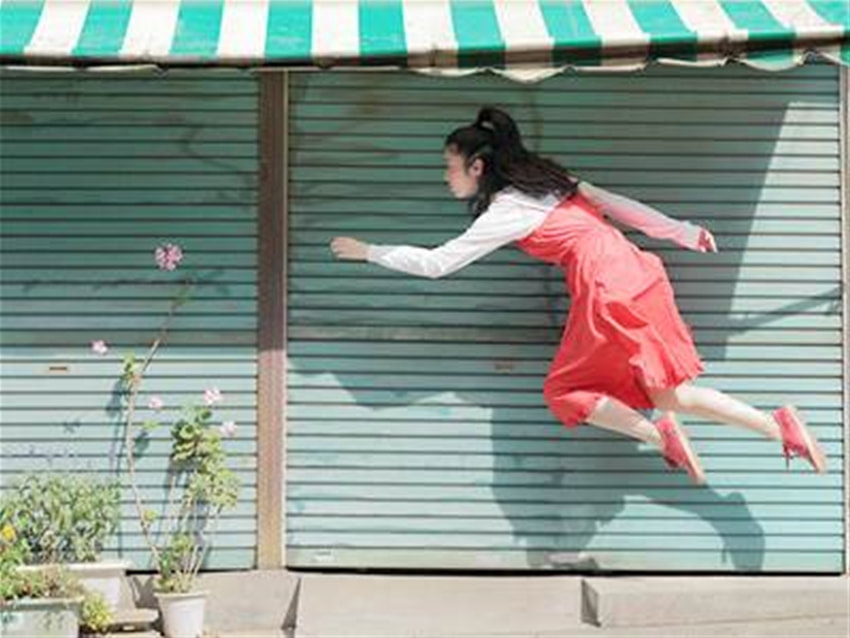
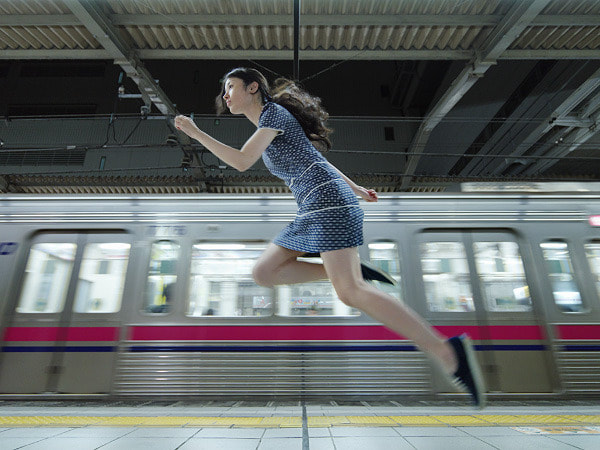
Yowa yowa
Today we studied a very well known photographer ,who uses fast shutter speed to portray a floating affect. My personal opinion on her is... A stunning idea she has captured. To me it seems mysterious and interesting, almost mesmerizing! I find this type of photography ,where it is partly left to the imagination, the best. Here are some examples of here work and information about her:
|
|

|
At aged 39 ,Yowa Yowa is a Tokyo based photographer and is known as the "levitation girl". She recently became very popular when she released a series of self portraits. Essentially catching images of her in mid-air, usually against an urban backdrop. She used various different techniques to make herself floating and not just mid jump. This was by making her hair straight, feet straight ,as you can see on the picture on the right, and skirt straight so that it looks like a real floating picture.
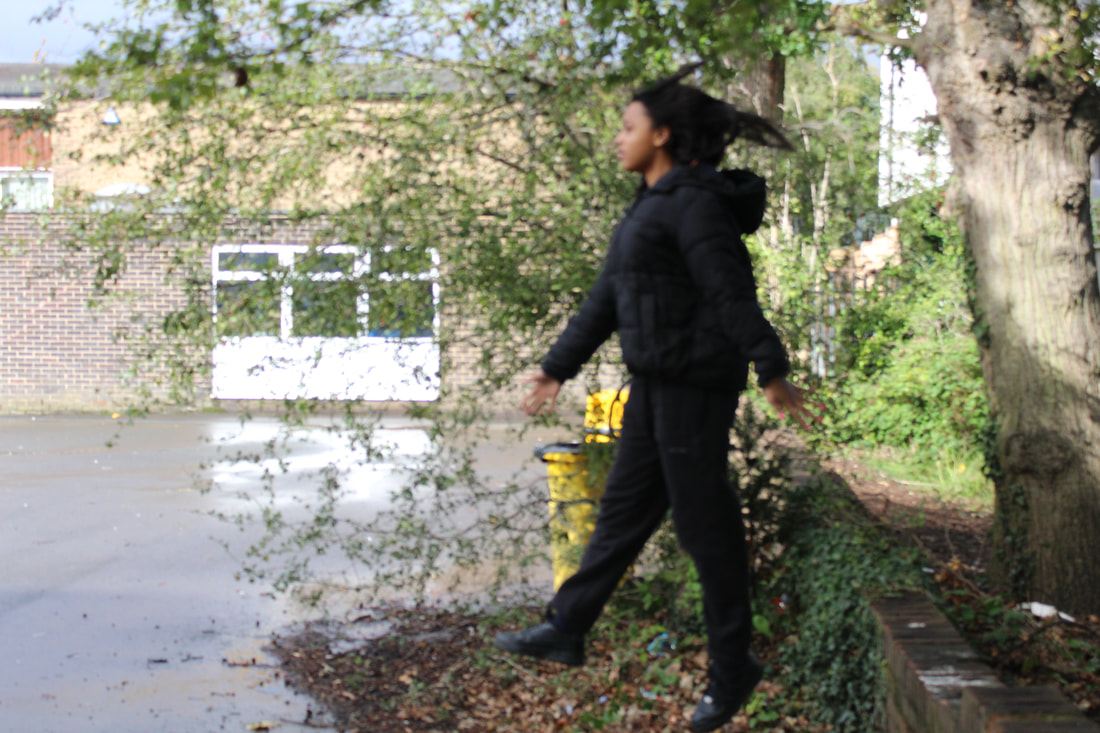
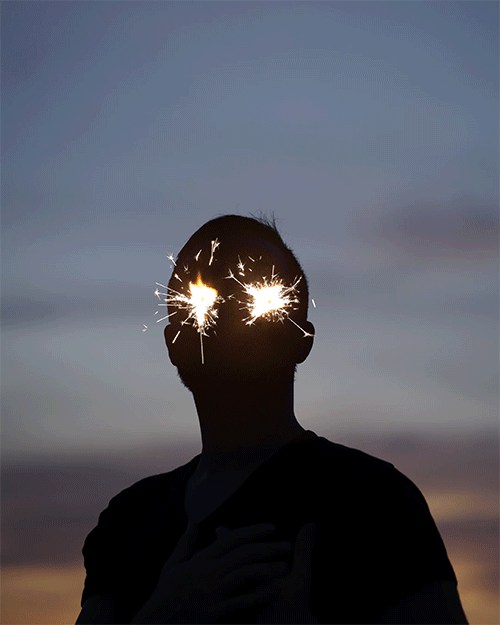
Fast shutter speed
In the SLR camera there is a shutter which opens and closes within the body of the camera. This means that a fast shutter speed keeps the window -in which the picture is taken - for a shorter amount of time. We had Yowa Yowa as our inspiration for this piece. We tried to achieve, straight flat feet and cloths staying still.


|

|
WWW: nice fast shutter speed captured with some cool ideas, and clothes not full of air
EBI: make the feet more flat (stable looking in air)
EBI: make the feet more flat (stable looking in air)
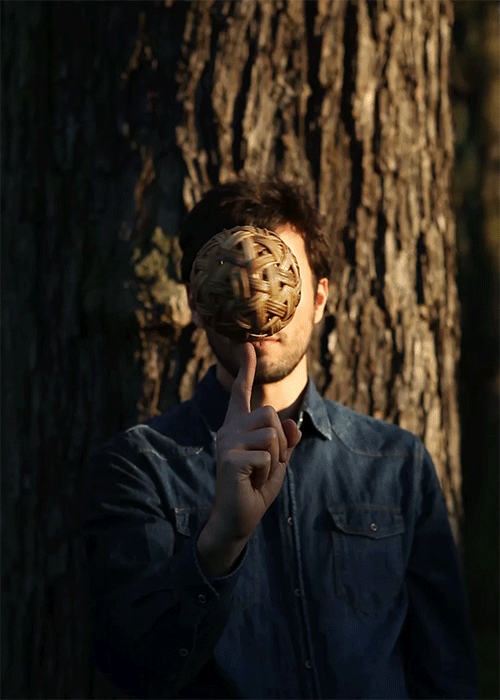
Fast shutter speed part 2
Part two was an improvement with more still like images and added emotional feelings when examining this piece because of its still/ crazy contrast affect.

|

|
WWW: better ideas from this attempt with good motion capture implying fast shutter speed. Also the feet are flat creating a floating like image
EBI: another picture or so to draw the viewer in and a higher ISO
EBI: another picture or so to draw the viewer in and a higher ISO
Slow shutter speed
In slow shutter speed, I used 1/4 of a second to take pictures for a longer exposure - creating this made the model seem ghost-like and blurred. To do this we used the tv setting. And our inspiration was:
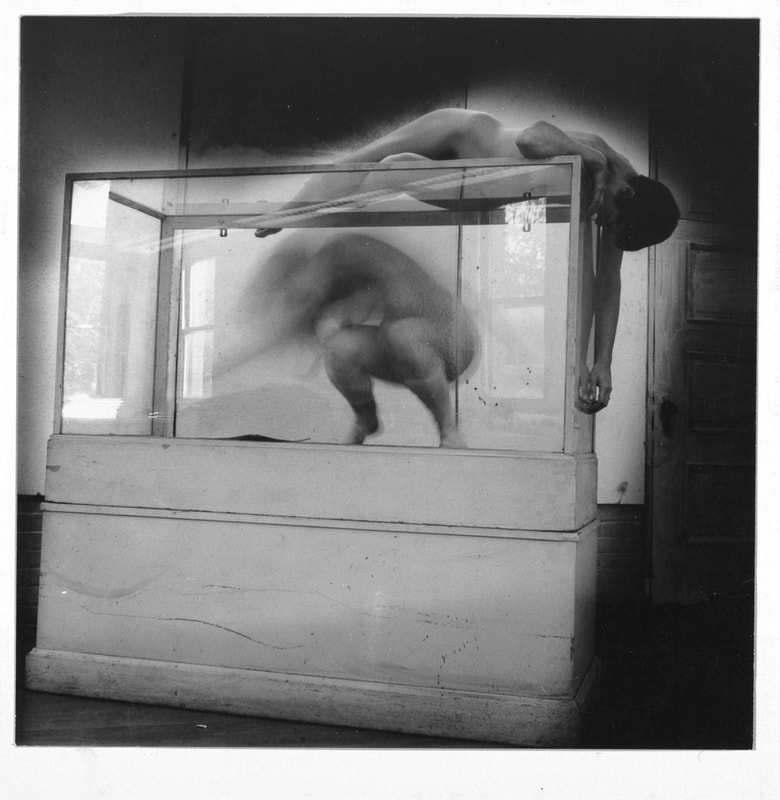
Francesca woodman's work
|

|

|
Woodman was an American photographer from the 20th century, she used slow shutter speed to create pictures as if she was a ghost. She was born in 1958 and died in 1981. Her inspiration was surrealism and fashion, and explored many other topics such as : self-body image, alienation, relationships and more.
|
Attempt one
In the SLR camera there is a shutter which opens and closes within the body of the camera. This means that a slow shutter speed keeps the window -in which the picture is taken - for a longer amount of time so that you can catch a blurry effect.

|

|

WWW: Used slow shutter speed well with good shots and ideas taken. They clearly present the task for today
EBI: I had a steadier hand because the background is slightly blurred
EBI: I had a steadier hand because the background is slightly blurred
Attempt two
Attempt two was an improvement that includes a different area of ideas.

|

|

WWW: cool ghostly ideas and kept my hand steady for the background not to be blurred which is an improvement
EBI: different themes of shots to capture other parts of slow shutter speed
EBI: different themes of shots to capture other parts of slow shutter speed
APERTURE
Aperture is the opening and closing of the hole in the lens in which how much light passes. F-stops are the measurements that correspond to the holes. A higher f-stop allows the picture to be clearer with no blurs, when a lower f-stop focuses the closest image and blurs the background.
first attempt
|

|
|
I felt that my first attempt was reasonable because i had acquired the correct f-stops for each picture, however the imagination i had put into these images are not the best. And i needed another shallow depth of field shot Thats what i would improve on in the next shoot.
|
Second attempt

|

|
On the second attempt i tried to pay more attention to the quality rather than the quantity, i struggled with taking a shot for a high f-stop but i'm happy with the low f-stop. Eventually i did find an image i liked. For this low f-stop i used a 2.5. I tried using 22 f-stop for the high depth of field but found it difficult. Definitely an improvement from my first attempt.
|
Photoshop
In photoshop we learnt how to :
-Open a doc in photoshop
-Resize a document in photoshop
-rotate a document in photoshop
-change the picture to black and white
-the history tool
-how to use adjustment tool
-how to use levels tool
-Using a histogram to change the tonal values of the image
-change the colours using saturation
-change the colour using colour balance
Here are some examples and steps to what we did:


Here are the finished results
To the left image i used stronger colours in the hue/saturation tab and the histogram to change some colours. And to the left i used grey scale on the windows tab.
|

|
WWW: i learnt all of the things in this assignment and found it easy
EBI:i learnt the shortcuts to these tools
EBI:i learnt the shortcuts to these tools
Photoshop continued cut out
Firstly, we took a portrait photos of our model and the imported them into photoshop. Next we adjusted the brightness to -48 and contrast 64. After that we used the filter gallery to turn our image into a cutout image. Lastly we used the gradient map to chane the colours of our image creating... our final product


Final product
|
|

|
WWW: cool colours and captured the idea
EBI: making a more flat colour on the background of the image
EBI: making a more flat colour on the background of the image
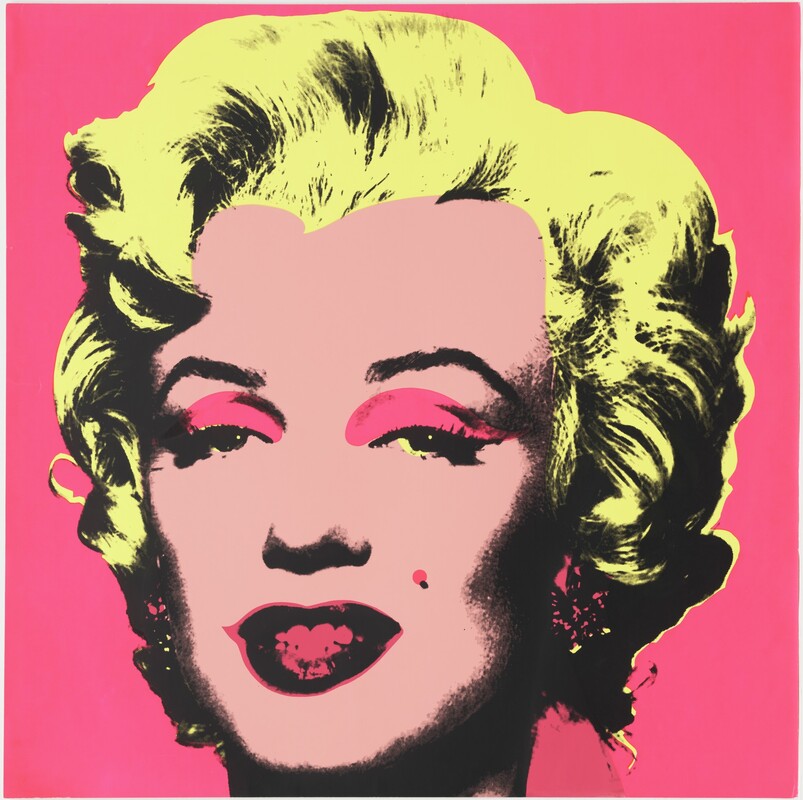
Andy Warhol
Our inspiration for the pop art images is Andy Warhol. He made pop art images using something like Photoshop.
|

|

|
Warhol was an american artist who lived for 58 years. He pursued a successful career as a commercial illustrator. He began to receive recognition in the late 1950s after exhibiting his work in several galleries. His New York studio became a well-known gathering place which brought drag-queens, playwrights, Bohemian street people, Hollywood celebrities and wealthy patrons.
Layers-photography
For this lesson we used layering to create a photo. We learnt how to merge black and white images using layers. We copied the light bulb picture and used grayscale to turn one black and white. Then i erased the saturated layer -only inside the bulb - so that the black and white image would show. the black and white image was on the bottom layer.


2nd pictures

|
|
WWW: I did the task with a nice idea for my 2nd image edit
EBI: i could have been quicker but apart from that not much improvement to do here
EBI: i could have been quicker but apart from that not much improvement to do here
Layered portraits
In this lesson we combined the seaside image with the boy. we used the magic wand tool to cut out the boy and then placed it on top of the seaside layer. This means that the boy is on the top layer, creating the boy on the seaside effect.


WWW:I successfully used the magic wand tool and cut out the boy
EBI:More accurate cutting out towards the hair
EBI:More accurate cutting out towards the hair

WWW: i love the idea of including a portrait in a frame as if the "mirror mirror on the wall" and i'm proud of the shadow effect i used along with starry night and Mona Lisa to the sides
EBI: more detail and add some highlights
EBI: more detail and add some highlights
Gifs
Today we created our very own gifs! Using a a gif maker website. We took several photos of our models, and combined them into one video.

WWW:I managed to make a smooth gif with a good idea of using putty
EBI: The shots toward the middle of the gif are not smooth and maybe too fast
EBI: The shots toward the middle of the gif are not smooth and maybe too fast
Gifs second response using photoshop
These second shots were better with a better idea. Here was the process:


|
Gather all your layers
Go to window - timeline
Sort out the layers and in which order you want your gif to play, then go to file, export and then you are done
|
Final result

WWW: really liked my idea and the gif was smooth
EBI: i had a tripod at home so the pictures were more steady and the lighting should have been kept the same
EBI: i had a tripod at home so the pictures were more steady and the lighting should have been kept the same
Romain Laurent
Laurent was our inspiration for the gifs we did. He created very interesting gifs.
|

|
|
At age 27, Laurent is a French motion photographer and director, born in the Alps and currently based in NYC. He studied photography at Gobelines in Paris. He is well known for his ideas of creating these shots. He has worked with many companies : Nike, adobe, google, Starbucks and Netflix
Light photography
To create this interesting type of photography we used the bulb mode on the camera which is essentially slow shutter speed. So we could drag a light source and the camera would catch this in a line like motion. We would have to stay still too.


WWW: cool abstract ideas with a variety of colours and approaches
EBI: some of the movement from the torches are too shaky
EBI: some of the movement from the torches are too shaky
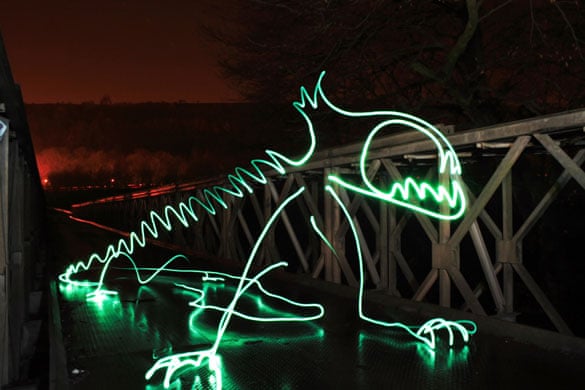
Light photography homework
Using the work of Micheal Bossanko as a starting point we created a series of shots that demonstrate our ability to capture a light painting.

|

|

|

WWW: some creative ideas and unique attempts
EBI: it had taken me less time for the results
EBI: it had taken me less time for the results
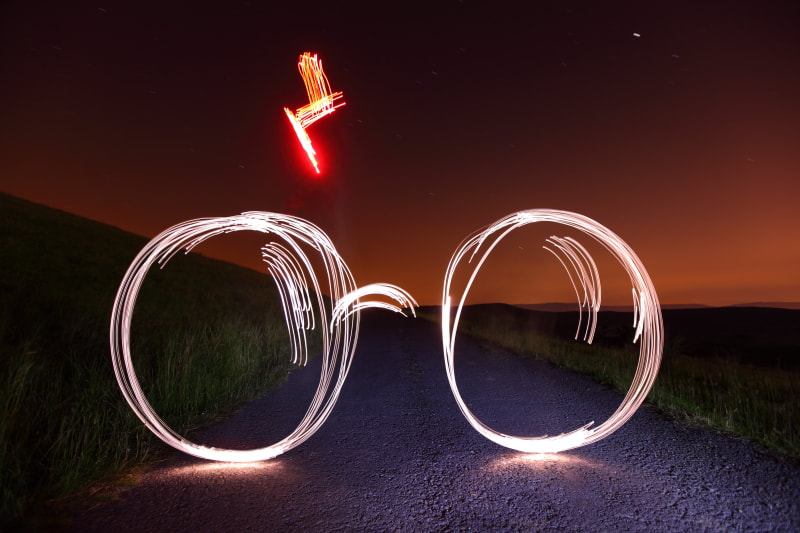
Attempt two at light photography + gifs
the same idea as the first attempt but we are using gifs too.
WWW: nice idea with a variety of colours and i like the smoky effect
EBI: another gif, i would make the frame of every gif dark
EBI: another gif, i would make the frame of every gif dark
Michael Bosanko
Our inspiration for light photography was Michael Bosanko, light photography was his specialty, he did this by creating drawings on long exposures (bulb mode)
|

|
|
At aged 39, Bosanko says that he had discovered light painting by accident in 2004, this was done by taking a normal shot but accidentally moving the camera making the moon, which was in the shot, a light streak in the image. His work mainly covers these topics : modern and industrial architecture, light graffiti, urban sub-cultures, bands, advertising, events and travel.
Concluding Toolkit
As a whole, i learnt that toolkit was a way to think in many different aspects of photography, because you can frequently see that things are constantly being contrasted. Examples of this are slow versus fast shutter speed, light and dark juxtaposing well. But ultimately Toolkit was a way to view photography differently and admire many different aspects of shots and photographers. I personally loved this project due to its diversity and i hope you did to looking over this!
